


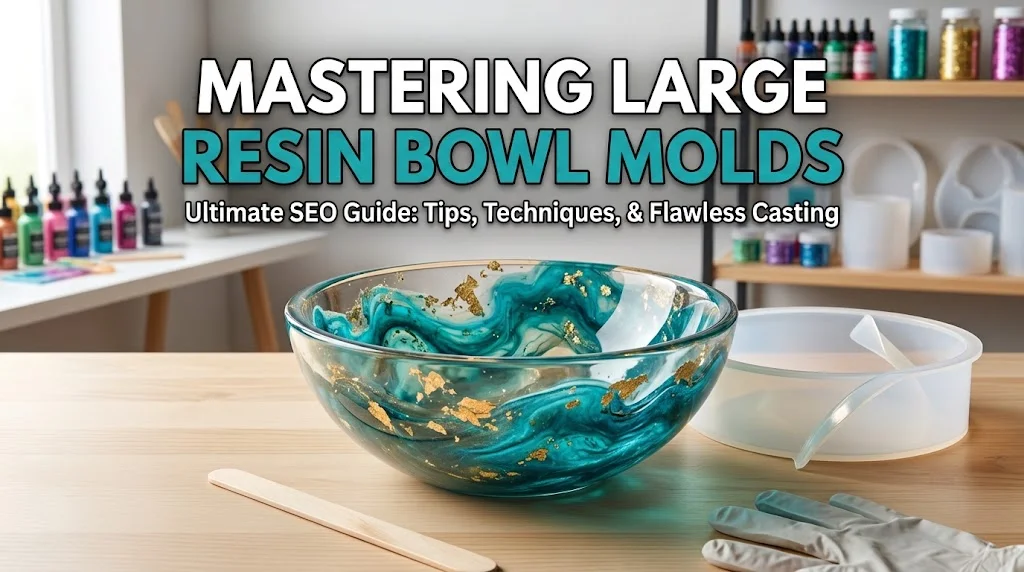
Epoxy resin art has taken the world of crafts and interior design by storm, with functional art pieces leading the trend. If you want to create stunning, practical statement pieces, working with large resin bowl molds is the perfect way to elevate your craftsmanship. From beautiful fruit bowls to striking coffee table centerpieces, these molds allow you to transform liquid resin into durable, glass like home décor.
Why Choose Large Resin Bowl Molds?

While starting with small coasters or keychains is great, scaling up to large bowls offers a whole new level of creative freedom.
- Functional Decor: Unlike standard canvas art, a resin bowl serves a practical purpose while acting as a visual focal point in a room.
- Endless Customization: Large molds provide ample depth to embed elements like dried flowers, shimmering crystals, metallic flakes, or even LED lights.
- Higher Profit Margins: For resin artists selling their work, large, custom-made bowls command premium prices in the handmade market.
A Step-by-Step Guide to Crafting Your Resin Bowl
Working with large quantities of resin requires precision. Follow these steps to ensure a perfect cast every time.
1. Preparation and Workspace Setup
Ensure your workspace is well-ventilated, dust-free, and kept at a suitable temperature (ideally between 70°F and 75°F). Use a spirit level to ensure your work surface is perfectly flat; even a slight tilt can result in an uneven rim on the bowl. If you plan to pour the resin in multiple deep layers, apply tape around the edges of the mold to prevent the material from spilling over.
2. Resin Selection and Mixing
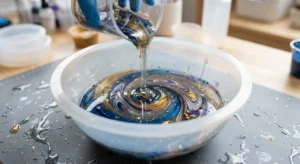
For large bowl molds, you should use ‘deep pour’ epoxy resin. Standard coating resin, if poured in a thick layer, can overheat and cure too rapidly (flash cure), potentially causing cracks or yellowing. Measure the precise amounts of resin and hardener according to the manufacturer’s specified ratio. Mix slowly for at least 3 to 5 minutes, making sure to scrape the sides and bottom of the mixing cup to ensure the chemical reaction completes properly.
3. Pouring and Bubble Removal
To minimize air bubbles, pour the resin into the mold slowly in a thin stream. After pouring, wait 10 minutes to allow trapped bubbles to rise to the surface. Carefully eliminate them using a heat gun or a specialized bubble-removal spray.
4. Curing and Demolding
Large molds require more time to cure. Depending on the brand of ‘Deep Pour’ resin, it may take 48 to 72 hours to cure completely. Do not rush this process. Once the bowl has fully hardened, gently separate the edges of the silicone mold from the resin to break the seal, then apply pressure from the bottom to release your masterpiece.
Expert Tips for Mold Maintenance and Clarity
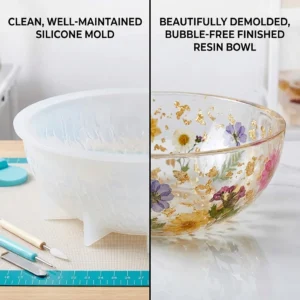
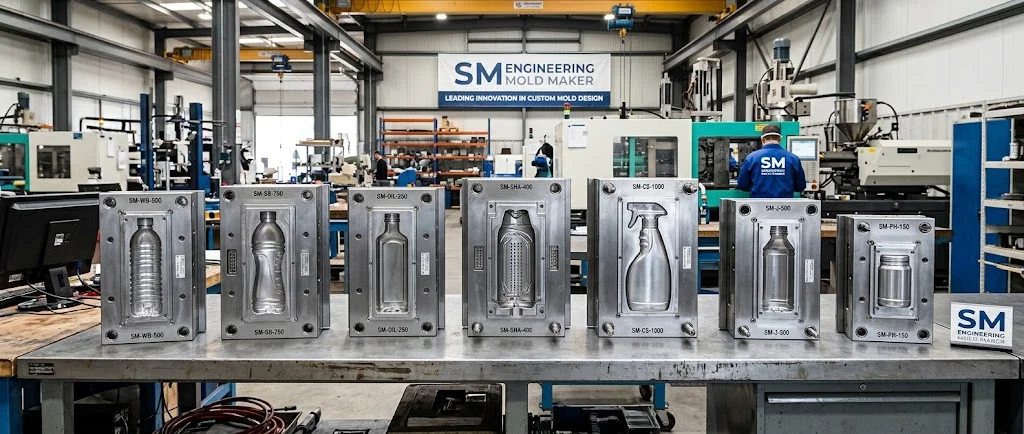
Precision is paramount in mold making. Just as high-quality industrial molds (such as those manufactured by smengineering.com.pk) ensure flawless mass production, a superior silicone resin mold guarantees that your finished bowls are smooth, symmetrical, and impressive. To maintain this quality:
- Use ‘Mold Release’: Lightly spraying a ‘release agent’ onto the silicone mold before pouring the resin extends the mold’s lifespan and eliminates the risk of tearing during demolding.
- Avoid Using Torches: While a heat gun is safe, using a butane torch to remove bubbles can melt the silicone and cause it to bond permanently to your resin piece. Store Flat: When not in use, store large molds flat in a cool, dark place to prevent warping.
Mastering large scale resin projects requires some practice, but the results are well worth the effort. By selecting high quality molds, correctly using “deep-pour” epoxy, and carefully managing the curing environment, you can consistently create stunning, professional-grade bowls that last a lifetime.